

Now we are up to Step 7 - making the elastic sheath.
For this you can use a 2inch wide or 2 x 1inch wide strips of fabric. To get the length measure your head where the headband will go and deduct the length of the quilted piece. Now add 1 inch.


Once the tube is finished carefully turn it the right way out. Everyone has their own way to do this, I personally use a knitting needle and scissors.
Step 8 - add the elastic
I use a 1/2 inch elastic as I find it more comfortable but it is up to you. You don't need very much, about 5 inches or so.
To get the correct amount hold the elastic to one end of your tube and stretch it until you reach the end of the tube, now cut the elastic and let it go- that is the right amount.


Now feed the safety pin through to the end of the tube, remove the safety pin and sew the elastic in place as with the other side.
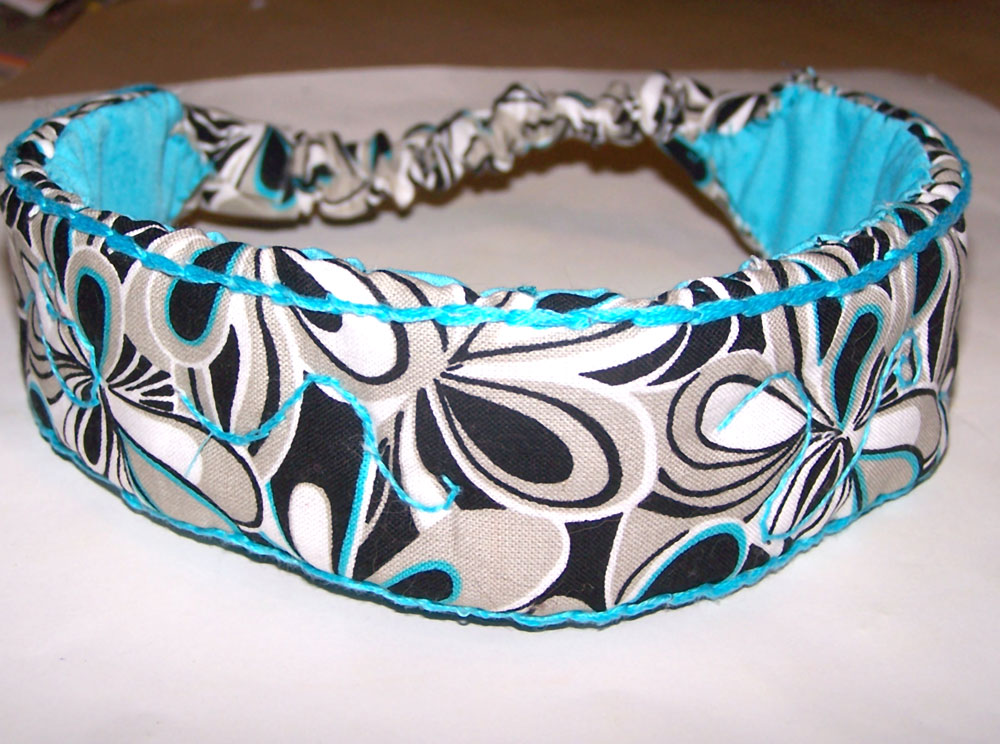
Your headband should now look like this picture

Step 9 - Final step - covering the working.
This is where the piece of fabric that we set aside earlier comes into play. Cut the piece in half widthwise to make 2 rectsngles.

Now place the fabric right sides together as show in the picture and sew, now flip the fabric, tuck a hem and cover your working, sew in place.

Finally tuck the sides with a hem and stitch in place covering all of your working.

I know this is fiddly but really worth it for a professional finish.

Repeat with the other side and VOILA! you have made your first headband!


I will have kits in the store over the next week with fabric, towelling, thread, floss, needles & elastic for 1 or 3 headbands. Prices should be $10-15 depending on the fabric & number of bands in the kit.
As always our kits are neatly tied with a ribbon and great for gift giving!
Cheers,
Teesha
No comments:
Post a Comment