Craftwerx Studio Fabric Funhouse


Craftwerx Studio Fabric Funhouse

Craftwerx Studio
is a retailer of quality pre-cut quilting fabrics currenlty in squares, kits & stash packs.

We also sell embroidery silks, rayons & cotton to personalise your work and design our own
Weekend Quilting Project Kits & SUDOKU puzzle quilt kits which are great gifts.

I'm Teesha Morgan and this is my blog!

Friday, October 15, 2010

Big box of Blenders!

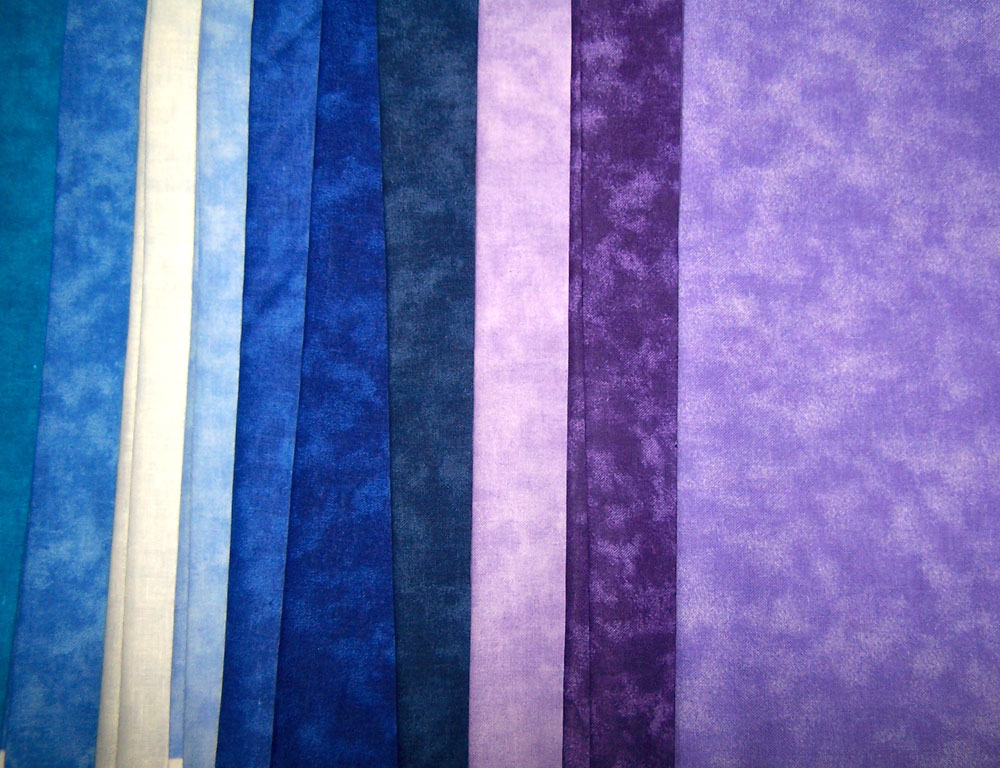
Here are some pics of the big box of marble blenders & hand tye dyed blenders that has arrived.
Soon I will have squares of every colour blender in the store. If you want some before I get them cut up , just message me and I will list them for you.
Woo a lot of cutting here!


Tuesday, October 12, 2010

Super easy blocks that look super hard to make!

Hi Everyone,

A lot of people ask for patterns to make using 2.5" squares. Apart from the basic 9 patch block many newcomers to patchwork quilting are a little daunted by all of the fancy blocks.This article is to help with that.

From my own experience and talking to customers I have found that what seems to be the hardest thing for those people new to patchwork is the lingo... and I must admit that I purposely use non-lingo in my patterns so that they are easy for new quilters.

The second hardest thing is finding the "how to make" easy blocks tutorials.

I guess it is because a lot of people make their income with classes, DVDs & Books, so unless you book a course or spend heaps on books and patterns, then find a quilter to decipher the instructions for you, you are left with trial and error.

It is great to see that particularly a lot of younger quilters are taking the pledge to show their process in their blogs and I sincerely hope that this makes it easier.

I have found some utube vids out there and more are becoming available, so my call is for those of you who have been quilting for a long time to share your basic knowledge, either on your blogs or if you don't have a blog perhaps you could ask someone who does to post your instructions.

If fact- I make an offer for anyone who would like to have their techniques on the internet but do not have the time or knowledge necessary to email me and we can work together to put your wisdom here in the Fabric Funhouse.

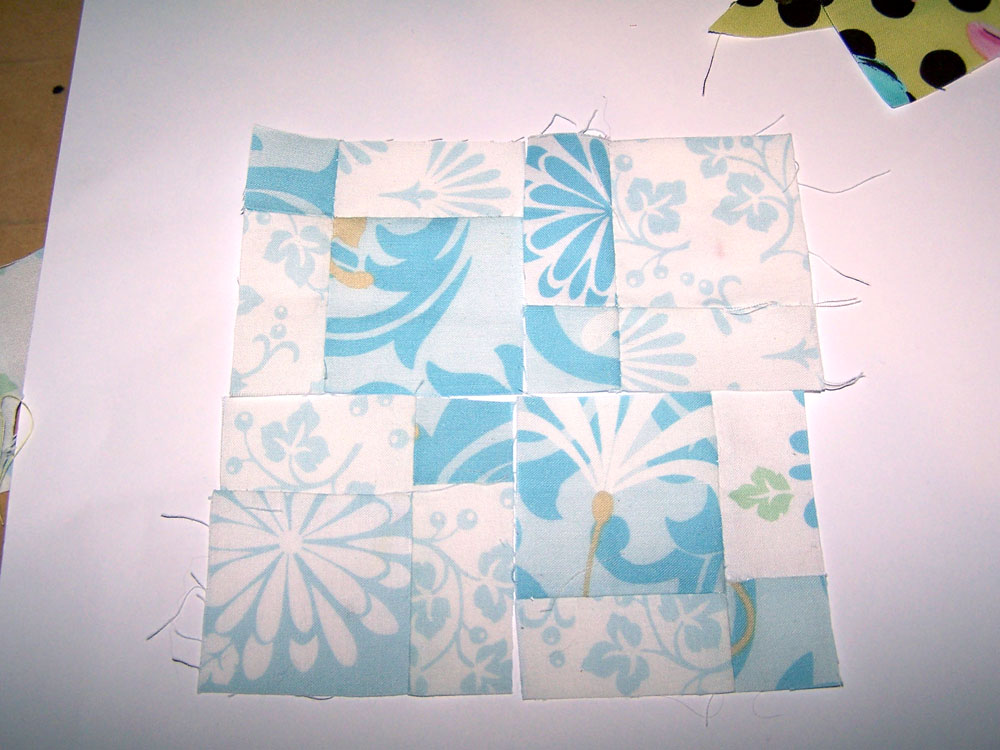
Anyway, enough of that- the following blocks are all made by stitching together 9 squares of fabric and then cutting the block to get the end result.

No stitching tiny pieces, just 9 basic squares in a standard 9 pattern.

cut into 2 diagonally


cut into 4 squares


cut straight down the middle


cut into strips

cut into 3rds diagonally


These blocks are just a basic 25 square block cut up and rearranged

To form a centre square and a border
Big, little square centre with 1/2 border
reversed


centre cross


I then went on to make a cushion using only my cut up blocks(I add a few more) in Annabelle by Tina Givens.
It is a 25 square block in the centre cut in 4 to give centre square with full border, with  a nine square block cut into strips to give the cross in the centre and another 9 square cut into 4 quarters arrange on the edges.

So far I have added 3 inch strips of lime cushion back fabric to make it bigger. I have bordered the centre square with brown embroidery floss in stem stitch and will take more photos as the project progresses.

I hope that you have found this article helpful and you send me some pics of your marvelous adventurous beginners quilting using these techniques so that I can post them here.

See you soon with a Silly Strips article!
Cheers,
Teesha

Monday, October 11, 2010

7 day Celebration Sale!

We're having a sale to celebrate acheiving Power Seller status!
As a thank you to all of our great customers, we are having a 10% off sale until Midnight on October 20th.
The sale includes most BuyItNow lisitngs in the store and is taken off automatically at the checkout.
Remember if you subscribe to my blog you get  further 10% off! 
Just send the code blogsub for October in a message before you pay and I will take off your discounts.
Happy Shopping!
Cheers,
Teesha & Daniel

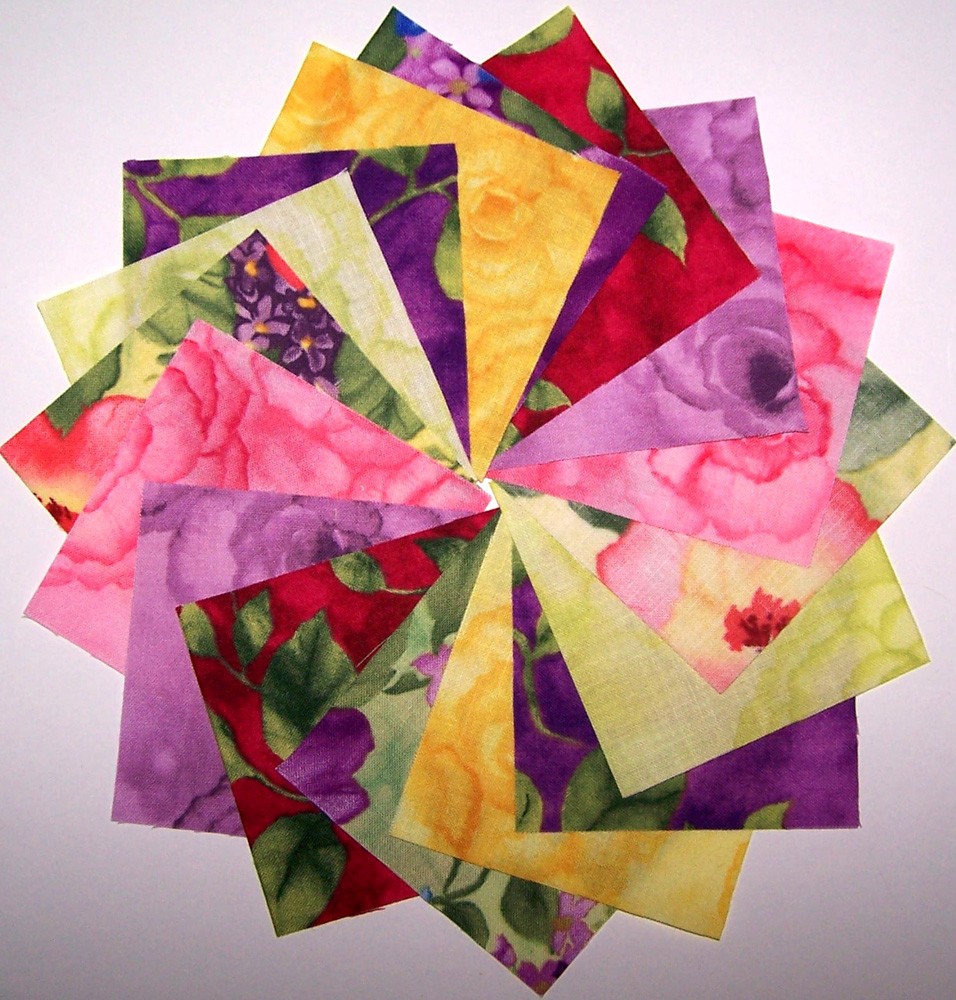
Bouquet Impressions is Back in stock!

This fabric sold out so quickly when we first got it in June this year.
It is an 'Out of Print' by Nancy Mahoney and I have spent at least an hour each week since then trying to find more of it. We have received customer emails about it and FINALLY I found it!
We now have a limited supply of 2.5" squares of the 8 fabrics in the original pack and I have put them together in a 32 pk so you get 4 of each print in a pack.
There is a lovely free pattern for this fabric 
on the P&B fabric site that I am sure you can easily convert to 2.5" squares.
It really is a stunning fabric range and VERY hard to find!
Quilt a garden with this one.
Cheers,
Teesha

Saturday, October 9, 2010

Quilted Headband Pattern Pt 2

©2010, Craftwerxstudio. This pattern courtesy of http://craftwerxstudio.bogspot.com

So if you have made the headband up to the end of part 1 you should have a piece that looks like the picture with blunt points at either end and backing fabric sewn in place.

Now we are up to Step 7 - making the elastic sheath.

For this you can use a 2inch wide or 2 x 1inch wide strips of fabric. To get the length measure your head where the headband will go and deduct the length of the quilted piece. Now add 1 inch.
Cut your fabric to this length and then fold or place right sides together and sew with a scant seem to make a tube.
Once the tube is finished carefully turn it the right way out. Everyone has their own way to do this, I personally use a knitting needle and scissors.

Step 8 - add the elastic
I use a 1/2 inch elastic as I find it more comfortable but it is up to you. You don't need very much, about 5 inches or so.
To get the correct amount hold the elastic to one end of your tube and stretch it until you reach the end of the tube, now cut the elastic and let it go- that is the right amount.


To get the elastic inside of the tube, attach a safety pin to one end and feed it into the tube. Once the end of the elastic is just about to disappear into the tube, grab it!- if you missed just start again. Once you have the elastic level meets the beginning of the tube, sew it in place to hold and then poke it into the blunt point on the end of the quilted piece and sew in place firmly( don't worry about it looking messy as this will be covered later- the important thing is that it will hold)

Now feed the safety pin through to the end of the tube, remove the safety pin and sew the elastic in place as with the other side.

Your headband should now look like this picture


Step 9 - Final step - covering the working.

This is where the piece of fabric that we set aside earlier comes into play. Cut the piece in half widthwise to make 2 rectsngles.


Now place the fabric right sides together as show in the picture and sew, now flip the fabric, tuck a hem and cover your working, sew in place. 


Finally tuck the sides with a hem and stitch in place covering all of your working.


I know this is fiddly but really worth it for a professional finish.


Repeat with the other side and VOILA! you have made your first headband!


I will have kits in the store over the next week with fabric, towelling, thread, floss, needles & elastic for 1 or 3 headbands. Prices should be $10-15 depending on the fabric & number of bands in the kit.
 As always our kits are neatly tied with a ribbon and great for gift giving!
Cheers,
Teesha

Saturday, October 2, 2010

Quilted Headband Pattern Pt1

©2010, Craftwerxstudio. This pattern courtesy of http://craftwerxstudio.bogspot.com
You may freely reprint this article on your website or in your newsletter provided this courtesy notice and the author name and URL remain intact.

Free Quilted Headband Pattern Pt1
As promised, here is the pattern for my headbands. As there is a lot to type, I am going to type this over a few different posts.
This pattern is made using 2x 1" strips and 1x 2" strips but there are many variations including using 17 x 2.5" squares, 1 x 2.5" strip and 5 x 1/2" strips.
All Headband kits bought from my eBay store will include the appropriate instructions as well as all of the bits and pieces needed to make the project. Each headband takes about 3 hours to complete including the embroidery so they are a great project for on the bus, in the car or waiting for the kids at sport!
So on to the pattern!

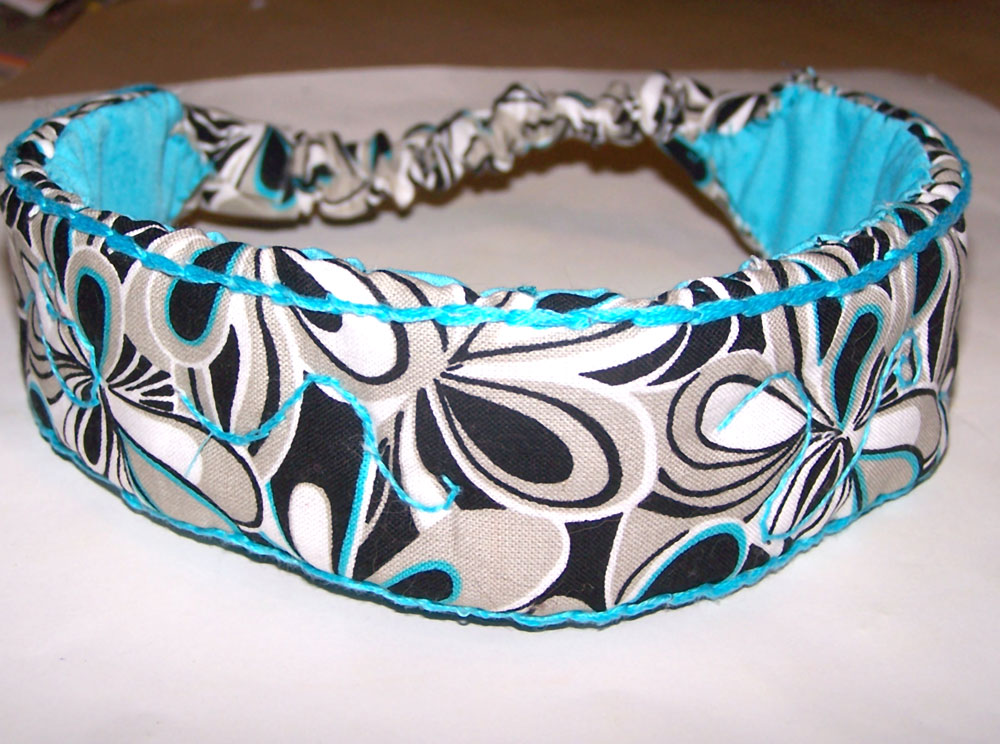
Completed 3 strip quilted and embroidered headband.


Items needed to make the headband:
2 x 1" & 1 x 2"  strip of 22" cotton quilting fabric
1 x 5" strip of 22" cotton towelling or quilt batting
1 x 4" strip of backing fabric about 17" more for larger band
Sewing cotton & needle
3m embroidery floss in colour 1 for border
1m  embroidery floss in colour 2 for crosses
2m embroidery floss in colour 3 for wave
Large eye embroidery needle.
Embroidery hoop  (optional)
20cm 1/2" elastic

Step 1 - Sew the fabrics together

Using sewing cotton sew your strips together horizontally to make the base of the from for the headband making sure to use a good 1/4" seam. The order is 1", 2", 1". It is best to finger press open your seams at this point and steam press the fabric to make it easier to sew your embroidery later.
You should now have one fairly even rectangle or fabric, now cut a 4" section from one end and reserve this for later.

Step 2 - Add the batting- I use towelling, for a cool head in summer I dip it in water before wearing!


Lay down the towelling(or batting) and  place your fabric right side up in the centre as pictured above.
Pin through the middle to secure in place while you work.


Now turn over your work so that it is toweling side up and fold the towelling over itself towards the centre to form the padding like in the picture above.

Step 3 Start Sewing it together


Using the embroidery thread that you have for colour 1 and a big eye embroidery needle, sew right through all of the layers from the front using a stem stitch about 1/4" long along the seam line on either side.

Sew the length of your fabric beginning 1" from the start of the fabric and finishing 1" before the end. Finish with a couple of back stitches. Use the picture above to guide you.

Step 4 - Adding the edging- now it's taking shape!


Fold a hem of fabric over one edge of your toweling and pin.

Sew another line as before, making 2 lines on either side as pictured above.

Repeat with the other side until your piece looks like the picture above.

Step 5 - Personalising your headband....Make it FUNKY


Using colour 2 (for this one I used half yellow and half metallic blue, 3 strand of each) embroidery thread and your big eye sew a pattern on your headband. I used a wave and did it freehand but if that is too scary you can draw it in chalk first or print out a pattern on your computer and sew through the paper to give a clean line.
Make sure that you sew through all the layers for a comfy and good looking head band. Use an embroidery hoop if you like. But most of all, HAVE FUN!

Using colour 3 ( I used lavender with metallic gold, 3 strands of each.

Step 6- Trim

Trim each end to a blunt point as pictured above.

And that is the end of part 1--- stay tuned for part 2

mmmm off to eat the lamb roast my yummy hubby just made me.... bye for now Teesha